Ok, if you’ve read the previous lessons you’ll know quite a bit about palettes, brushes, paper and paint, so the significant question now is how do you actually ‘do’ a watercolour.
Before kicking off its worth considering the difference between watercolour and other mediums and the important thing is what it says on the tin - watercolour. When you work with oils or acrylics or pastels you can be pretty sure that when you place a splodge of colour on the surface it will stay where it is and if the colour underneath is dry the new splodge will cover it completely (unless the medium has been thinned of course).
None of the above is true of watercolour, it is, to say the least, runny stuff and likely to run everywhere and used in anything less than industrial strength it is always at least partially transparent.
The fundamental key to working successfully with watercolour is to embrace these unique qualities and work with them and not against them. Exactly what I mean by this will become clearer as we go on.
There are an infinite number of ways of applying the paint to the paper but here I am going to outline one way that is fraught with significant problems (which most beginners intuitively gravitate towards) and another that seems to me to work well for nearly all subjects and solves many of these difficulties.
At this point I’d like to apologise to any reader who is reasonably experienced as I don’t want to be accused of ‘teaching my grandmother to suck eggs’ but here, my comments are directed solely to relatively inexperienced watercolourists who are just starting out, ‘beginners’ is the word I’ll use.
From the many workshops I have run around the South West (UK) it seems clear to me that most beginners think about their paintings and therefore, work on their paintings, as if they were a little like a patchwork quilt, that is to say they will paint in discreet patches that abut each other. When painting a landscape they will invariably paint the sky from the top of the paper down to the top of the hills and stop. Then they will try and paint the hills up to the bottom of the sky and stop. At this point alarm bells will start to ring because the sky is likely still wet, so they will leave a thin white line of dry paper between the sky and the hills so the colours don’t run into each other.
And so the painting progresses with more or less successful attempts to keep the warring puddles of colour apart and when the puddles meet, the colours bleed into each other and tissues are frantically applied to soak up the mess and more paint is applied to repair the damage done by the tissue and… well let’s just say that an hour in, half the class are into full-blown panic attacks, tearing at their hair in frustration and insisting that watercolours are simply too difficult to use.
The end results will often be landscapes laced liberally with white worms of left over borders or black worms of overlapped edges or German sausage worms of dark and light borders where the attempt to meet up has only partially worked or even more problematic double worms where the painter has painstakingly filled in the white space and overlapped both sides of the gap at once.
Nevertheless, this way of painting by ‘piecing together colours’ seems so intuitively seductive and right that is has been taught by some well-respected teachers going back decades into the past. I quote from the book ‘Water Colour Painting’ by Alfred W. Rich (The New Art Library, page 42)
‘When one mass of colour comes in touch with another of different tone, so that there is a danger of them running into one another , the best plan is to allow a thin line of dry paper to remain between them until both are dry an fill in the intervening space with either colour’
This concise bit of advice is in my opinion exactly how NOT to paint in watercolour.
By now I imagine you’re thinking ‘OK …. if you don’t paint in ‘patch-work’ how do you paint ‘
The answer lies in the way you think about your painting. Specifically I suggest that you think about your painting in layers not in discreet patches. Think of the painting as being made up of several layers of transparent coloured cellophane with each new layer adding to the one below. So you paint your first layer with all the ‘light’ tones you will need, all in one wash over all the paper. Then you paint your mid-tones and then finally your darkest darks –Job done – no worms.
This method takes a bit of thought and organisation but solves all the edge problems in one go. And because the painting is made in layers the colours will be more unified and harmonious.
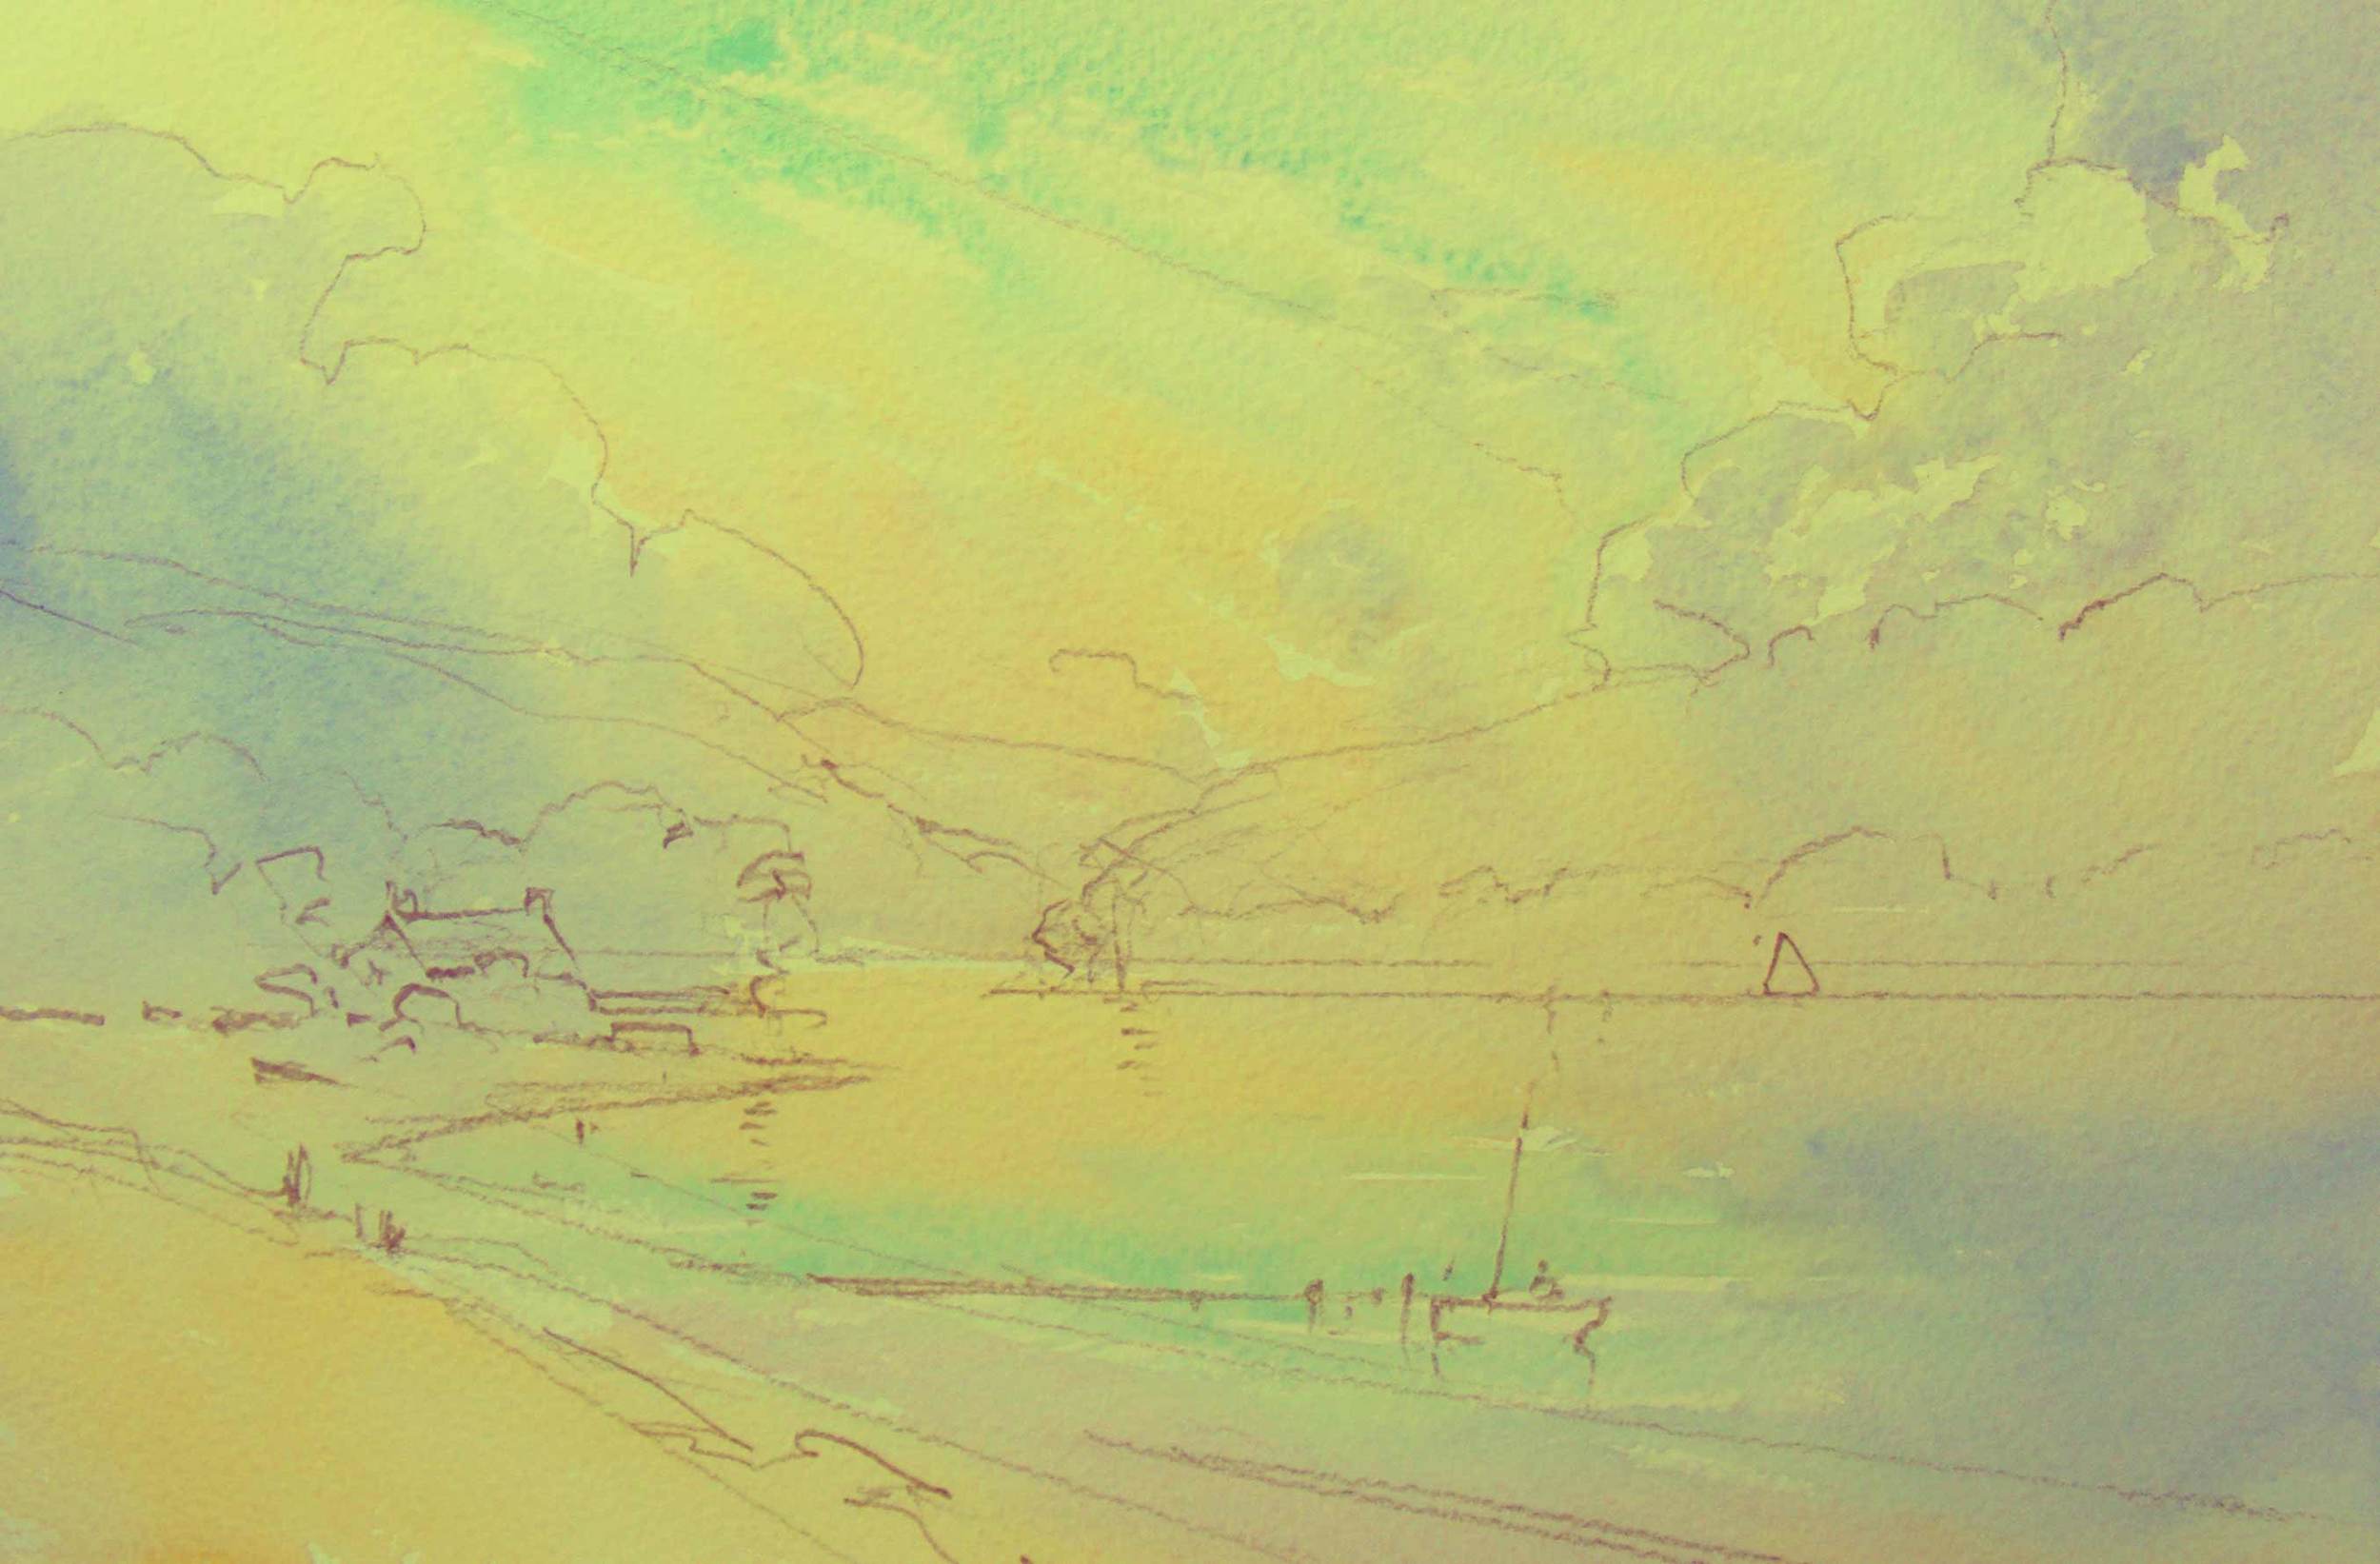
For instance, say you are painting an estuary scene; first of all you rough out what is going where with a soft (4B) pencil and then mix up all the colours you will need for the sky, the light passages in the water, the light reflected from the mud, in short anything that is going to be of a light colour. You will probably need maybe half a dozen different colours so mix them all as you will not have time to remix once you get going. Having made a copious supply of everything you need, you wash all the colours onto your (slightly sloping) paper from top to bottom totally ignoring the pencil lines but changing the colours as and where needed. This can be done (more or less) wet-in-wet over the whole sheet of paper. So layer1 done, relax and go and have a coffee.
With a bit of luck when it is all dried (use a hair dryer if you are in a hurry, or leave it out in the sun if you are outside) you will see an area of paper that looks sky-ish and some areas that look like water and the dry land will justbe a ghostly suggestion of pencil work underneath this layer.
Your second layer will be all your mid-tones, so mix plenty of paint for the colours you need and this time apply the wash over everything that is going to be mid-toned cutting round any light tones that need to be left untouched. You may need to add other mid tone passages to define some other details but essentially all the mid tones are thought of as one main mass.
Once this layer is dry; add your darkest marks, maybe shadow shapes and some small details and that’s it.
It is worth saying here that once the watercolour is completely dry the 4B pencil can be lifted out with a soft putty rubber. This is especially useful in light areas like the sky but any pencil lines that are useful and add to the image can of course be left where they are.
You should see clearly that as the hill is painted over the sky there are no messy edges and this should be true for the rest of the painting too, with all the edges clean and uncomplicated.
‘A picture is worth a thousand words’
So, here are 2 very simple, invented traditional estuary scenes (10X 7 ½ inches, a tad smaller than A4); a beginners ‘patch work’ painting with some ofthe problems that usually crop up and a layered painting (layer by layer) to show how these problems can be avoided.

Use a soft pencil to sketch out the position of the colours
First of all apply the light tones... everywhere!

Next up come the mid tones

Then come the next tones in your palette

Finally, add the darkest details there are

The last step is to remove the pencil lines. Leaving a few helps delineate the different areas

Ok, I did this in a hurry, but it demonstrates the problem with trying to produce an image with patchworks of colour. It just doesn't work!
I hope you will be able to see clearly just how different the two pictures look. In the layered painting the colours harmonise together partly because the paint is transparent in some areas and because the paint is washed on over a large area in the first layer, subtle colour variegation from wet-in-wet painting can be seen. And there is a convincing sense of atmospheric perspective as the tones lighten towards the distance.
In the patch-work picture, the hills and clouds look very blocked in and the colours seem to jump about and not relate well to each other. This is because each patch has been painted separately. Notice also the dark lines on the top of the hills on the left and right which destroy the sense of distance and draw the eye too much and all the white lines everywhere which cut up the surface. In short the picture is clearly a collection of coloured patches which do not quite bond together into a cohesive convincing scene.
When I have taught this method at workshops, I usually do a quick demo first to show exactly how the layers are laid one over another and only then ask the students to try it out for themselves. Without fail at least a third of the class will still stop their skies at the top of the hills and carry on with their patchwork approach. This is partly sheer force of habit but often they will explain that because they know the sky ends at the top of the hills they find it impossible to continue with the wash.
I am aware that it seems counterintuitive to paint all the light tones over all the paper first BUT if you don’t, you will end up working very hard to stop the paint patches running into each other and your painting will end up being more a record of this struggle than anything else. So give it a try and see how you get on.
Have a look at some of the originals of creeks and estuaries that I have painted around Devon in particular, (Low tide, Bowcombe Creek and Afternoon at Mill Bay are both good examples) and you will see how the tones are built up one on top of the other with the last dark marks laid on at the end, with no unintentional white dividing lines anywhere to be seen!
Lesson 6 will be more about how to use watercolour and take advantage of its particular qualities and how to avoid some of the holes that a lot of beginners fall into. Cheers for now.